I got a really fantastic question a few weeks ago. How do you “glue” paper to a chipboard alpha like you would in real life? This user wanted the paper to be just a bit smaller than the alpha.
We chatted back and forth a little. In all honestly, she figured it out via this tutorial. Great investigative work Shannon! So here’s how you do it.
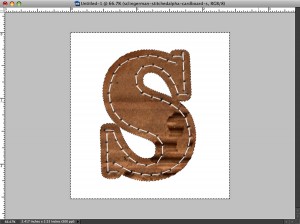
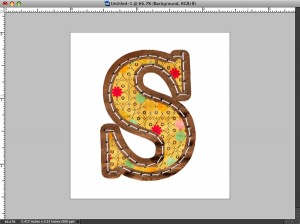
In this example, I’m going to use Shawna Clingerman’s Cardboard Stitched alpha for this. Here is an “s”.
I use the Magic Wand tool to select the area outside of the letter. If there are extra areas, use Control+Click with the Magic Wand to add them. (See video for more detailed step-by-step.)
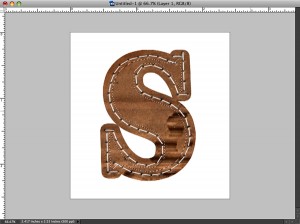
Then go to Select > Modify > Expand so that only an inset of your letter is selected. I chose to expand the selection by 40 pixels. You’ll want to adjust this based on the type of alpha you’re working with. Then, go to Select > Inverse. In reality, only everything outside the selection was selected. So you needed to inverse to select the inside!
Create a new layer and use the paint bucket to fill in your new shape.
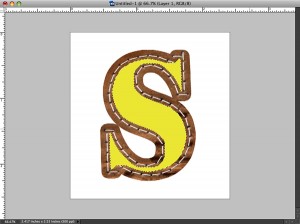
Place a paper in the layer above your new shape. I am using a paper from ChereKaye and Libby Weifenbach’s Skidamarink kit. Use Ctrl/Cmd+G to clip the paper.
I added just the tiniest of shadows to the paper, for more realism. The entire letter itself is also shown here with a small shadow.
This is a great technique for customizing alphas (especially with fun papers) and it was much more easy than I expected. Have fun with it!



Cool! TFS that tip:)
Thanks for the great tutorial. I had been wondering how to do this myself!!