I thought about titling this post “How to Scrapbook When You’ve Just Moved and Half of Your House is Still in Boxes”, but that didn’t sound full of wonder and sparkle.
As soon as I knew we were moving before the end of the year, I made my final decision on how to scrapbook the holidays. I had been considering a photo book or even a traditional mini album like I had done in past years (2011, 2012, 2013).
With so much on my plate, the best solution for me had to be one of the most simple. For me, this means including a few extra pocket pages in my 2014 album and saying that’s good enough.
I love spending time honoring this special time of year through my hobby, but extra effort isn’t in the cards for me this year. I’m totally OK with that. My time will be spent preparing this house for years of holiday memories to come!
Fortunately, simple doesn’t mean boring.
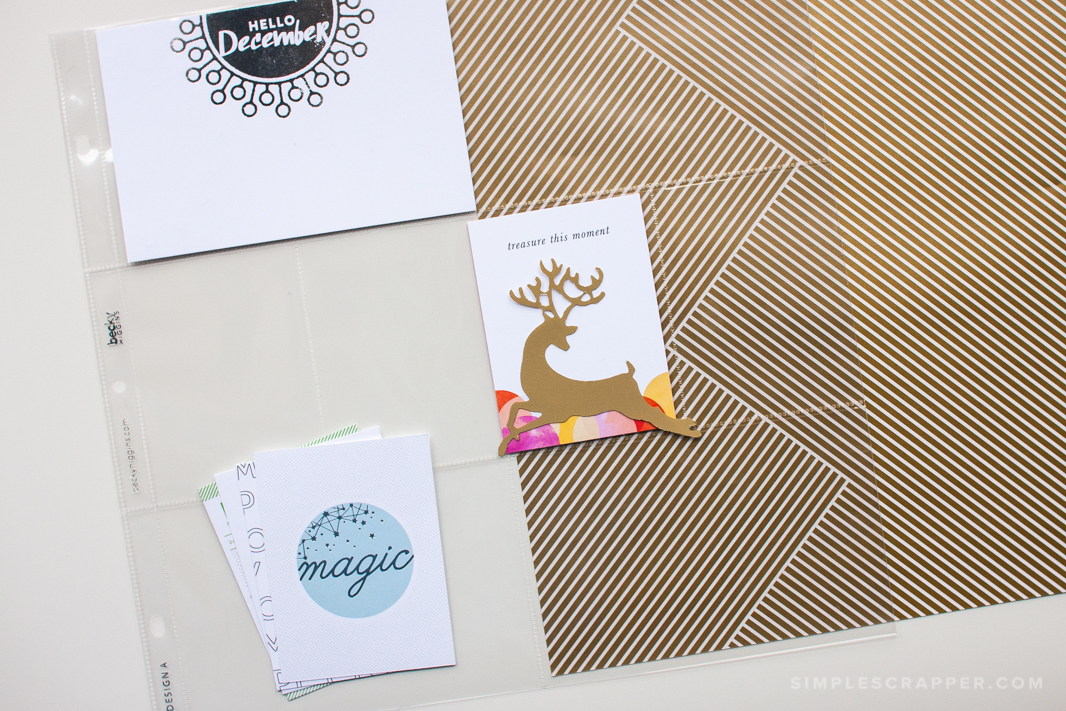
Last month I ordered a few holiday-themed cards from Studio Calico to serve as a starting point. Earlier this week I decided I would prep my page protectors by inserting the cards. It would be a 10 minute task, in theory.
Little did I know that the magic of scrapbooking would help me make a little extra time. Once I had the cards in my hands and began to imagine my spreads, I had to do just a bit more.
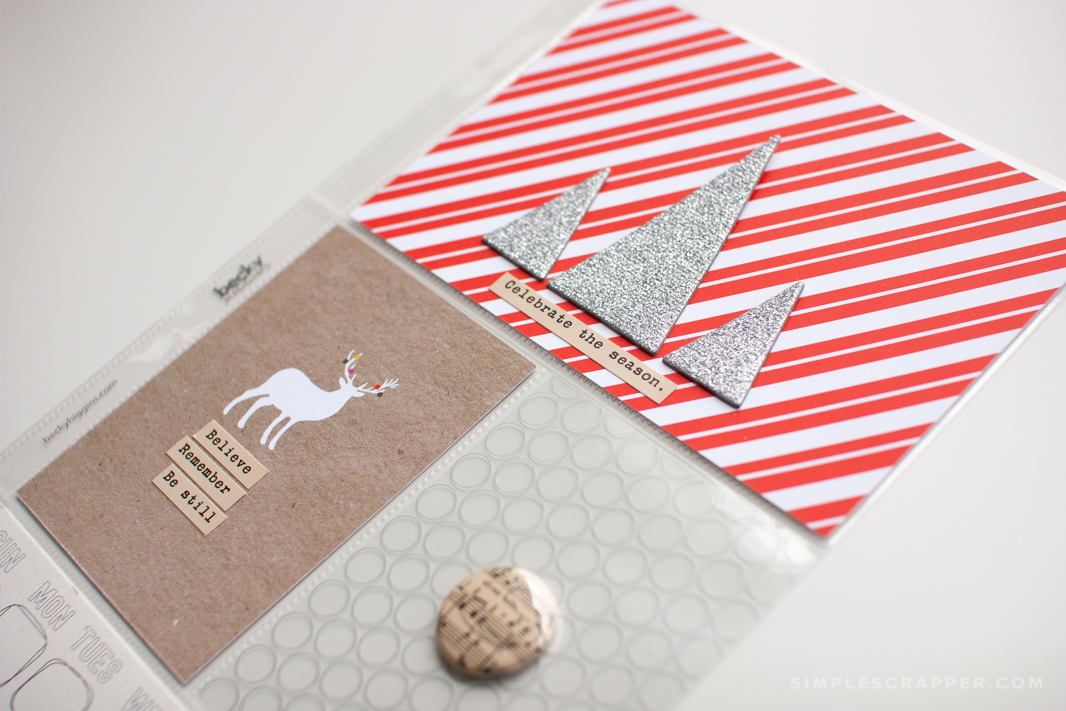
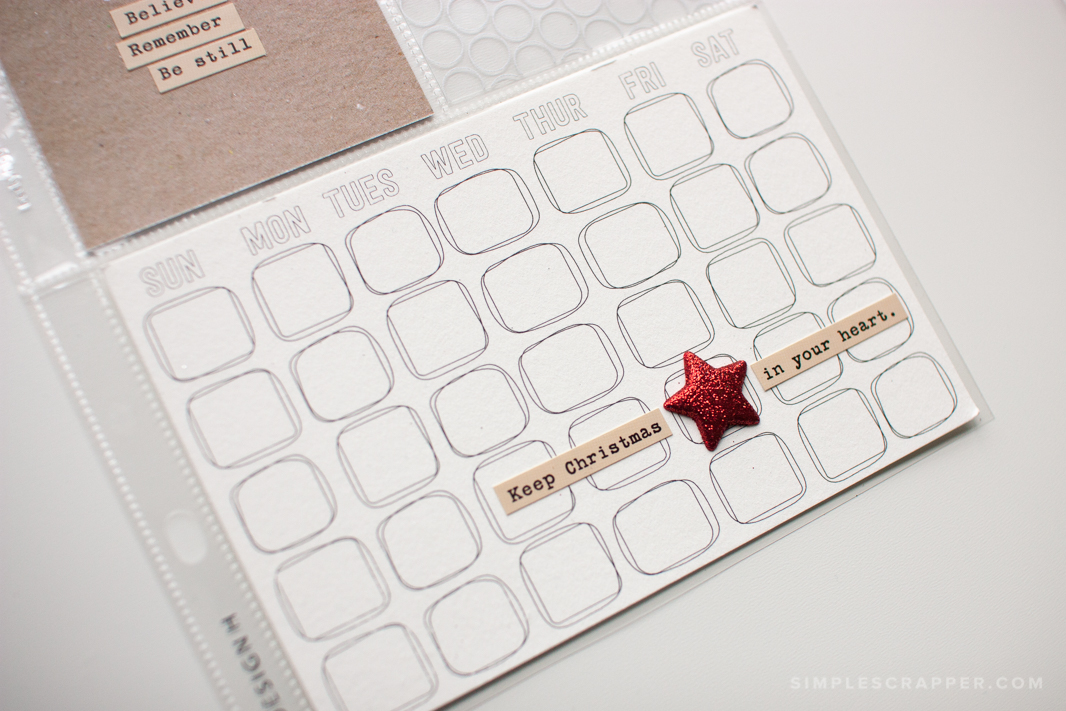
This 6×12 title page (Project Life Design H) will introduce a small section of two 12×12 Design A pocket pages.
The inspiration began when I spotted the silver glitter triangles while unpacking my embellishments. I had always wondered how to use them and then it hit me: trees!
From there I grabbed items from my holiday stash – phrase stickers from Cosmo Cricket, a badge from October Afternoon, a Hambly transparency, and a red star from Michaels. Plus, I finally found a great use for that calendar card from a previous Studio Calico kit.
I’ll have the back of the 6×12 and three sides of the 12×12 pages to fill with stories. The section will end with a sheet of patterned paper from Stampin’ Up divided amongst the pockets.
The guts of my pages will be filled with photos and words. I will likely put it together in just one or two sittings.
The cover page took me 30 minutes to complete. (I shared a first draft on Instagram.) Putting this together and gathering my supplies was the perfect and simple creative start to my holiday scrapbooking.
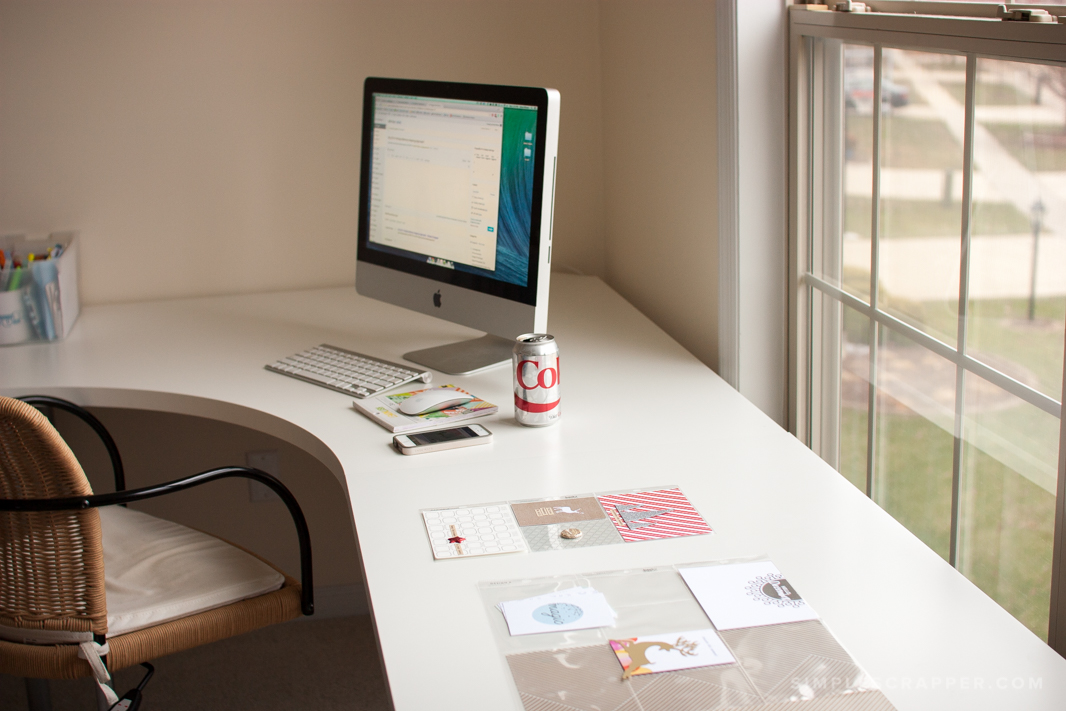
The experience was also a solid first test of my new office space. I assembled the IKEA tables myself and am looking forward to really making this space my own over the next few months. First up: curtains!
If you would like support for your own holiday memory keeping, Holiday Focus is still open for registration. With your free enrollment, you’ll get a planning workbook, an idea book, and access to a community of more than 900 simple scrapbookers.


Love this start on your holiday memories! Would you mind linking to the IKEA table? I’m in love with it! 🙂
These are the LINNMON tables:
http://www.ikea.com/us/en/catalog/products/50251133/
http://www.ikea.com/us/en/catalog/products/60251137/
Each piece is just under 4′ long, so the whole thing takes up about 8′ on each wall.
Love how you’ve given yourself permission to do something different this year for your holiday documenting. This is truly key:
“My time will be spent preparing this house for years of holiday memories to come!”
Congrats again on the house and enjoy putting everything together!
I’m with Laurel– that IKEA table is PERFECT. Links links links!
How do I find the planning workbook? I have the idea book. Thanks for doing this for us!!
Donna, you would have been sent the link. You can also find it in the pinned post at the top of the Facebook group. Please email help@simplescrapper.com if you need assistance.
I like the calendar card – very clever.
Thanks, Jennifer! 🙂
I really want to try the project life approach for my holidays. Thanks for the great inspiration!
L O V E your title page. Great foundation for your pages. Thanks for the inspiration!
Carol
p.s. your office is looking good!
Thanks Carol! There are still a lot of boxes you don’t see, but it is coming along.