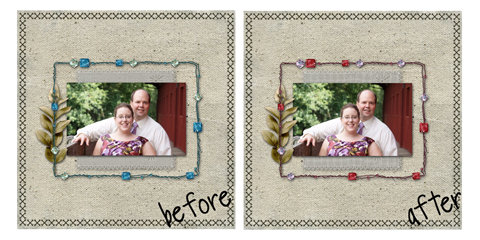
Sometimes you’ve got a beautiful element that fits just perfectly with your layout, except for the color. Fortunately, there is a super easy way to tweak the color to fit your needs. In this example. I wanted the beaded frame to match my dress.

You can use the following instructions (geared toward Photoshop Elements) to achieve the same result. This is called creating an adjustment layer.
- Place your paper or element and select that layer.
- In the Layers toolbar, click the icon that is a B&W circle.
- Select the option for Hue/Saturation and choose OK. (Don’t make any adjustments yet.)
- Now select ctrl-G or command-G to create a clipping mask. This applies the adjustment only to that layer.
- Then, double click the box on the left in the adjustment layer. It should have a graph in it.
- Find the hue slider and move that right or left to adjust the color.
This simple tip is a true lifesaver. Keep it in your back pocket to give your layout a perfect finishing touch.
—
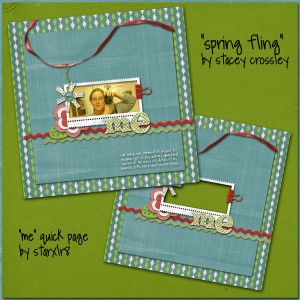
Freebie week at Simple Scrapper continues with this fantastic quick page using Stacey Crossley’s Spring Fling kit. Get this one now as it will only be available for a limited time!

Link Expired


beautiful pages and great idea with PE!!!! 🙂
Gooorgeous blog
Greetings
M
martencja’s last blog post..Postcard and ….
Thank you so much for this Freebie. I want to let you know that I posted a link to your blog in Creative Busy Hands Scrapbook Freebies Search List, under the Quick Page(s) post on Feb. 10, 2009. Thanks again.
Super page, thanks!
I haven’t tried that method of recoloring. I’m noting it for later reference, thank you!
Thank you, also, for the lovely QP!
Hi, I just found this page (0nly about 1 year late 🙂 since I just signed up with SimpleScrapper. Love your QP and wonder if this is going to be on the archive since it’s expired. Thank you so much for your tutorial, very helpful!