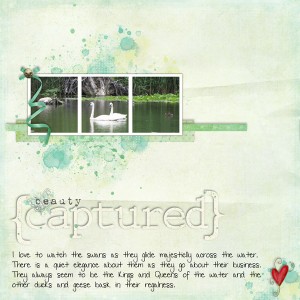
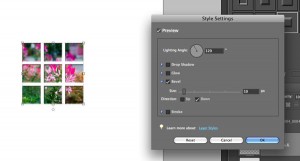
A reader recently asked me how to create the look of a photo behind behind a window. This can also appear as if a photo has been cut apart into puzzle pieces. Here’s an example:
Now here’s how to do it! This brief tutorial illustrates 6 steps using PSE 6 for Mac.
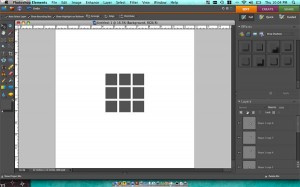
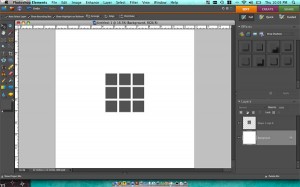
Step 1. Assemble the shapes you’d like the photo to fill on your layout.
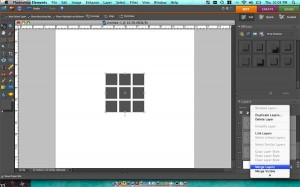
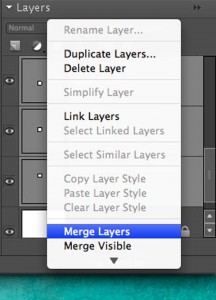
Step 2. Select all of those shapes and right click in the layers panel. Select “Merge Layers”.
Step 3. You can see in the layers panel that this places all of the pieces onto one layer.
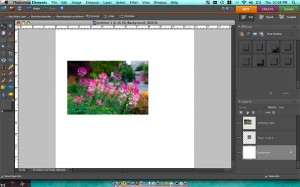
Step 4. Drag or File > Place an image into your document. Make sure it is on top of this new, merged layer.
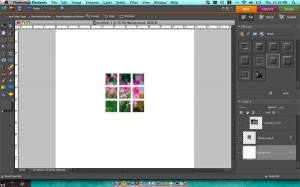
Step 5. Use Ctrl (Cmd on Mac) + G to clip the image to your shape assemblage.
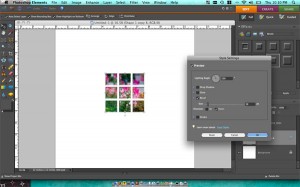
Step 6. If you’d like to add dimension to this effect, use the bevels styles and make sure to select a direction of “down”.
These steps can be used in a variety of applications. Combine fun shapes from a kit and give them a new look by clipping a photo on top. You can even use this technique to place an image inside an alpha or font!
Bonus Tip: Do not shadow elements before merging layers. This will flatten the layers and cause any clipped images to cover the shadows too!

For PS users, the keyboard shortcut is CTRL+ALT+G. They changed it a from CTRL +G a couple of versions ago, but left the PSE version at CTRL+G. Crazy. Make ya nuts, these people will.
I do it differently – this works in both versions:
In the Layers Palette, hover your cursor over the line between the two layers, and hold your ALT key. The cursor will change to two little interlocking circles with a little arrow, then you can click and the layers will be clipped together! I have a tutorial on it here, if you need to see screen shots:
http://www.scrappersworkshop.com/hosted/tutorials/Using%20CLIPPING%20PATHS.pdf
Love this idea, it sure is a quick way to get a sophisticated look! Great inspiration, thanks!!