The kid is just so darn cute. You’re getting handy with the camera. You have too many good shots. Maybe your template just has room for a single image. Or you’ve planned out an album with certain pages having a single photo. Sometimes one photo is just not enough.
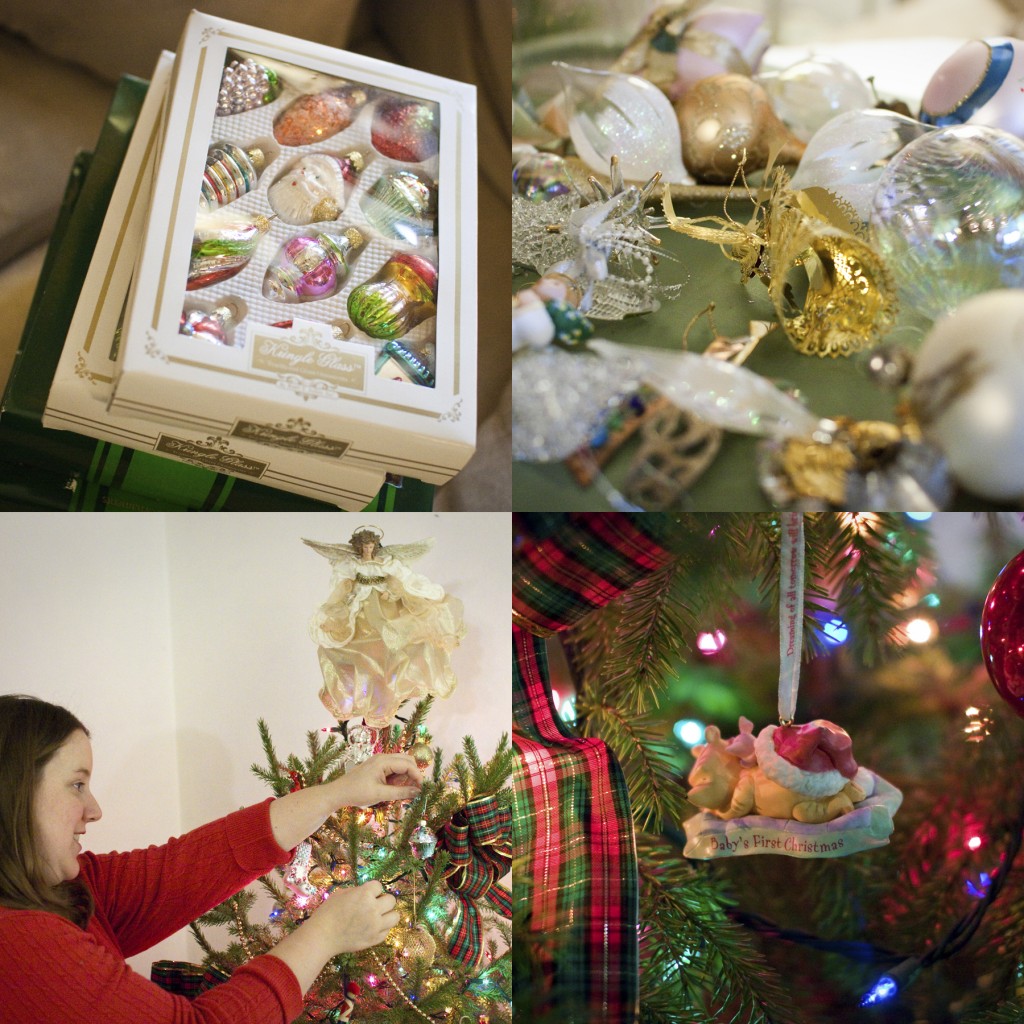
When this happens to me, I have a simple trick that I use to get more of the story onto the page. I create a photo collage that lets me use many photos in place of one. Similar to a diptych or triptych (but with even more), I often create a 2×2 collage in a square format.
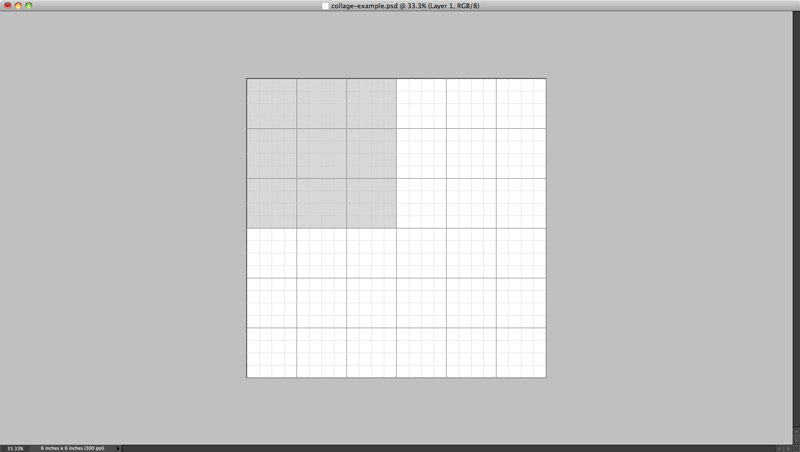
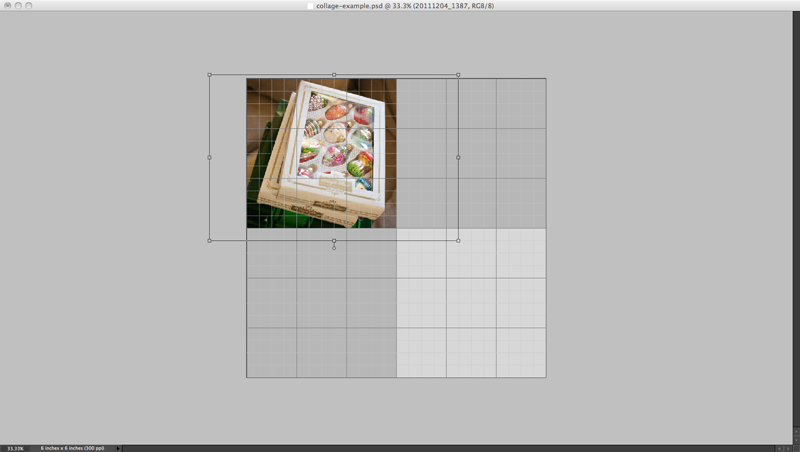
To create this photo collage, create a new canvas in your photo editing software. I am using a 6″x6″ canvas in PSE6 for this example. Turn on the grid (View < Grid) to make drawing your boxes easier.
- Create a new layer.
- Use the Rectangular Marquee Tool to draw a 3″x3″ box. Use the Paint Bucket Tool to fill with a color.
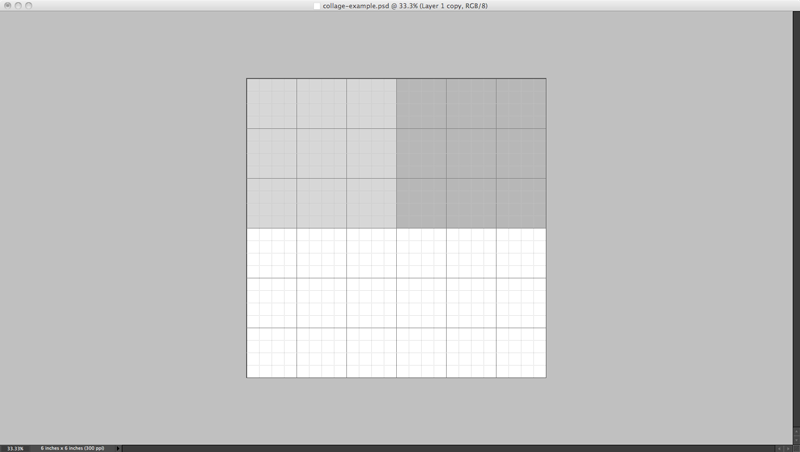
- Copy the layer and drag to the top-right position on your canvas. Use the Paint Bucket Tool to fill with a contrasting color.
- Repeat this process until you have four separate layers. You will use these shapes as clipping masks for your photos.
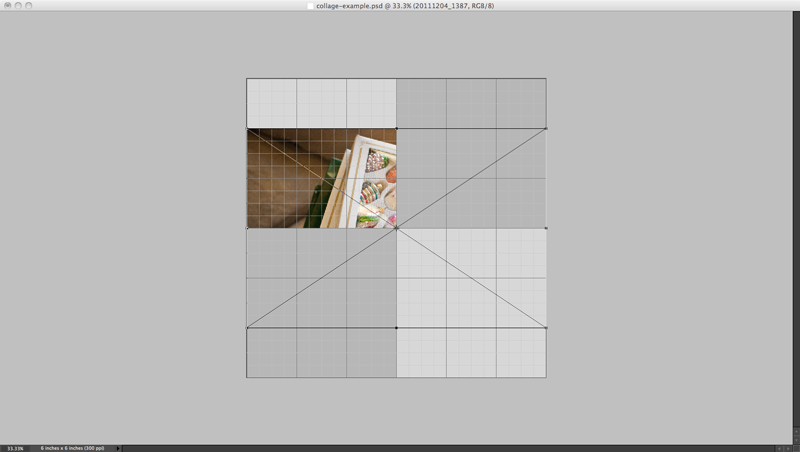
- Use the Move Tool to select one of the clipping mask boxes. Go to File < Place (in PSE only – or drag an opened image to your canvas) to insert a photo. Move and re-size the photo to fit the box as desired. Use Ctrl/Cmd+G (in PSE) to clip the photo to the share of the box.
- Repeat this process until all four squares have been filed. Save your image as a single JPG file.
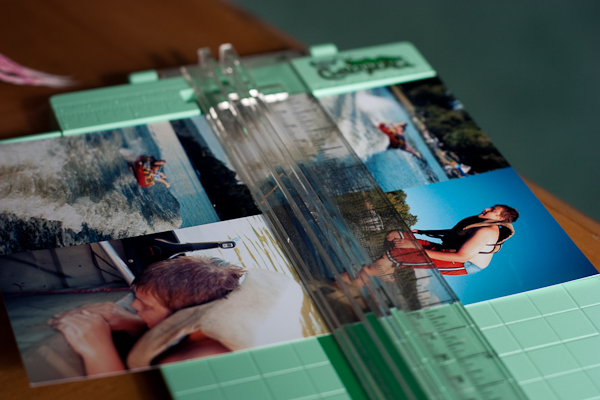
Note: This tip can also be used to print smaller photos more economically by using the space of a normal-sized print. For example, 2 – 3″x4″ photos on a single 4″x6″ print. Similarly, 4 – 2.5″x3.5″ photos fit on a single 5″x7″ print. If you love using these smaller sizes, particularly in divided page protectors, collage prints are a fast and simple solution.



The website for Scrapbook Etc. has several free photo collage templates you can download for free. I love using them to fit more photos on a page.