I am a minimalist when it comes to embellishments. Part of this stems from being incredibly picky about what I like to use. Truth be told, I find far more digital embellishments I like than traditional.
This tutorial will help you use your favorite digital embellishments and word art in your traditional scrapbooking projects.
Last year I printed out a selection of word strips from Snipettes: Season of Giving by Sahlin Studio. I had cut them out but ended up not using very many for my 2010 December Daily. This year’s grid design, however, made them a perfect go-to embellishment. But they were so… flat!
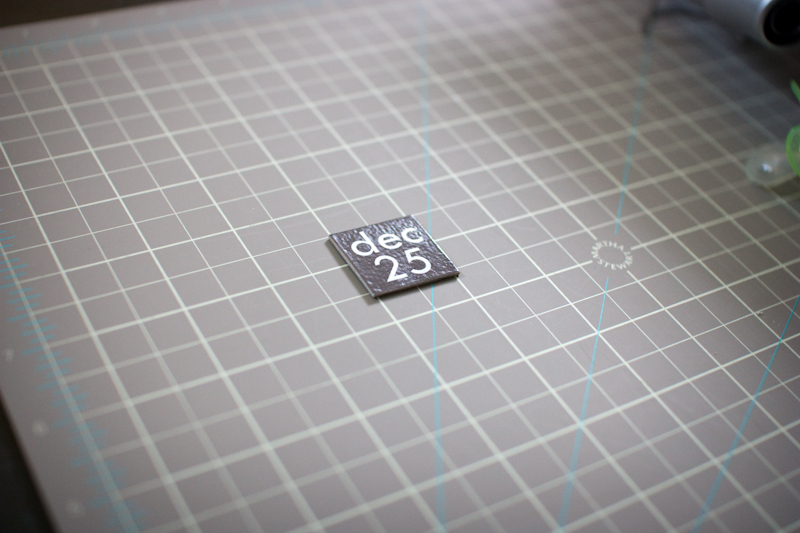
Sure I could use pop dots, but I thought: what if you embossed the word strip and added it to chipboard? Would it look like a manufactured chipboard embellishment? It turns out it is pretty darn close!
Give Dimension to Printed Digital Elements
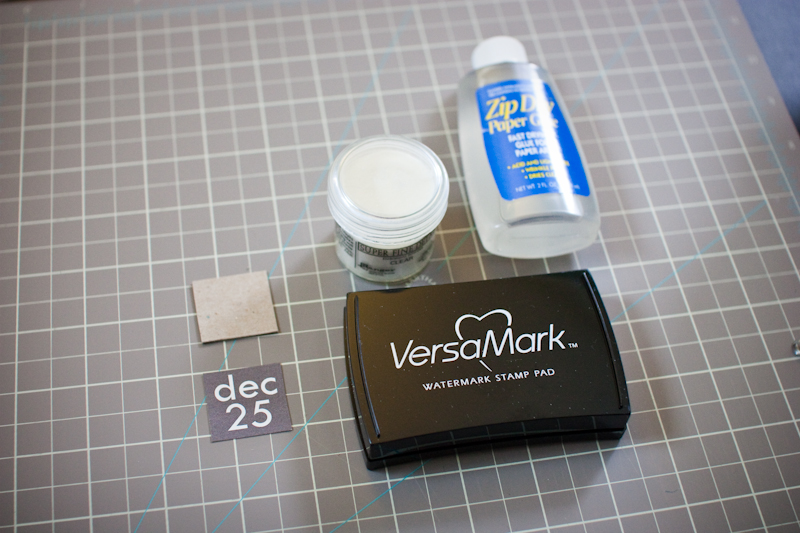
It only took a matter of minutes to take a floppy sad-looking word square and turn it into something special. Necessary supplies include:
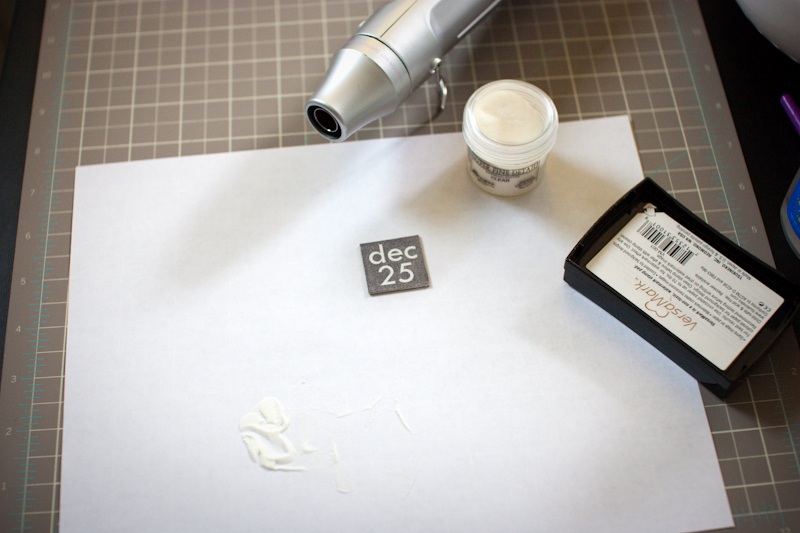
- digital embellishment printed on smooth cardstock
- chipboard trimmed to match
- Zip Dry Paper Glue
- VersaMark Watermark Stamp Pad
- Ranger Super Fine Detail Embossing Powder
- heat embossing tool
* I recommend using smooth cardstock in your printer. I used orange peel textured and while I like the effect, smooth would be a little nicer. Also, this tutorial will work for any shape of embellishment. However, you will likely find it easiest to trim squares/rectangles by hand (with a craft knife and ruler), circles with a punch and most other shapes with a Silhouette or other electronic cutter.
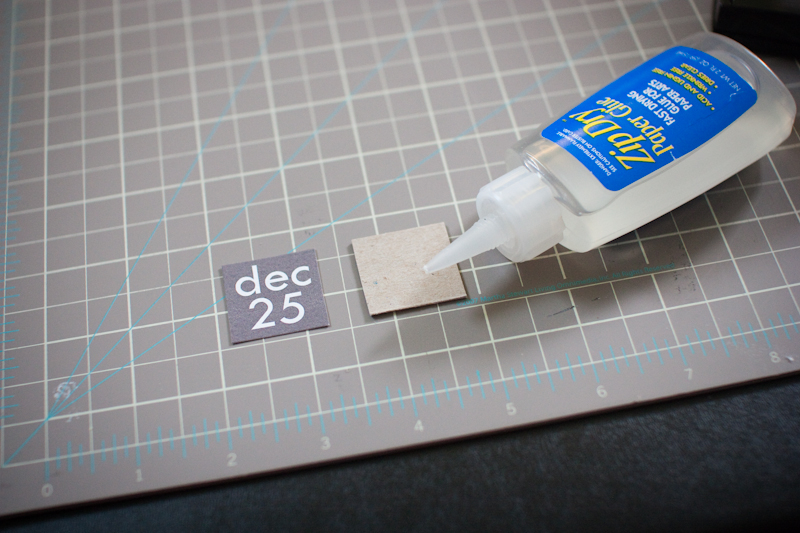
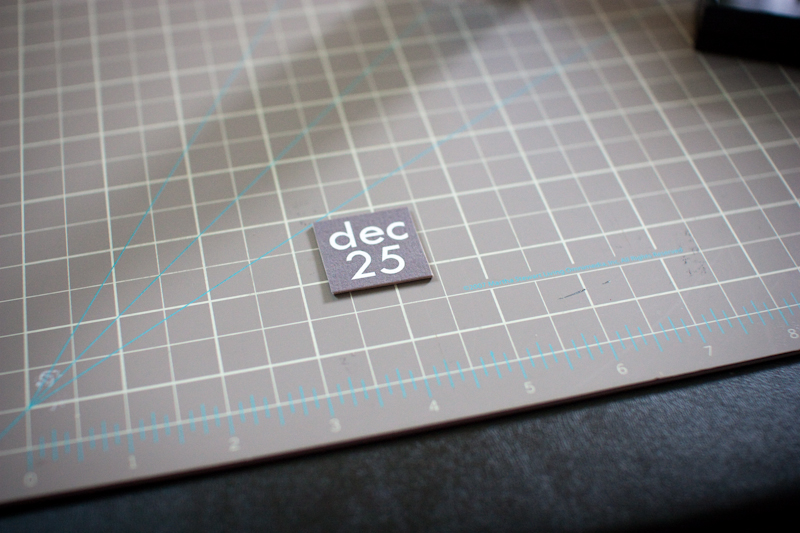
Step 1: Use the adhesive to attach your cardstock embellishment to the matching chipboard.
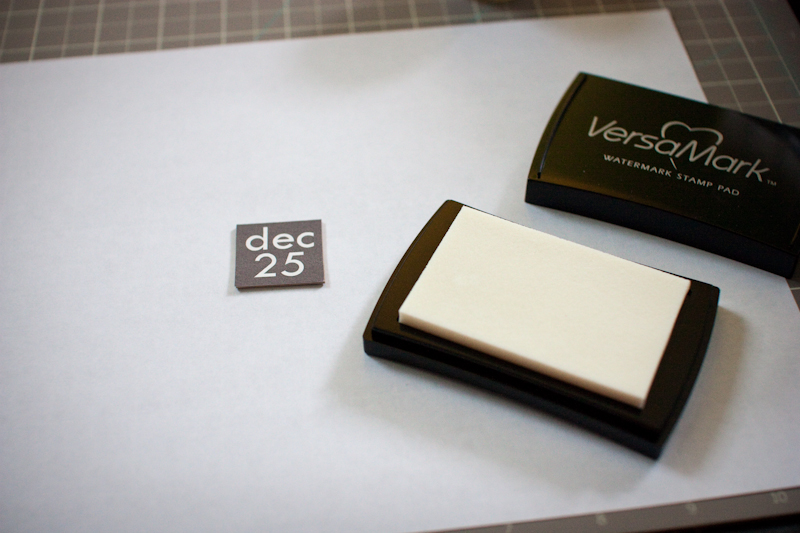
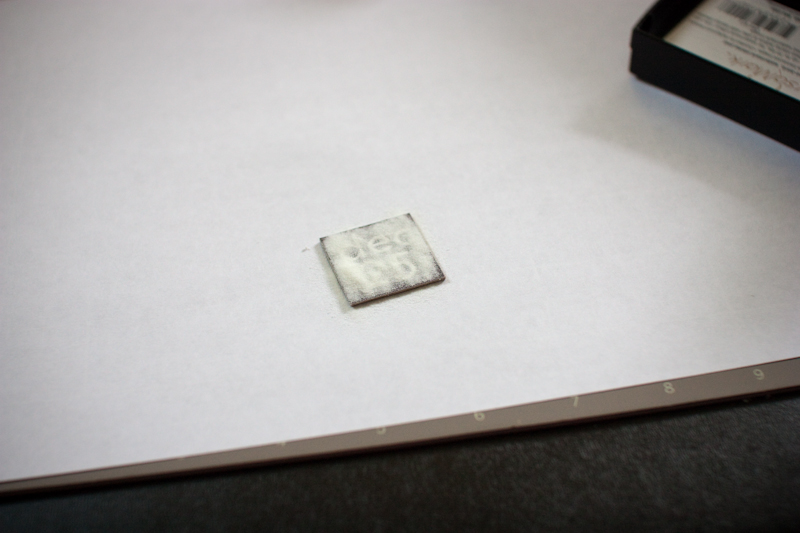
Step 2: Apply the VersaMark evenly over the top surface of your embellishment.
Step 3: Immediately dust the embellishment with embossing powder. Tap off excess.
Step 4: Use a heat gun to melt and set the embossing powder.
Your new embellishment can be attached with a variety of adhesives. You can even use a Xyron tool to make it into a sticker!


0 Comments