This month, I endeavored to create hybrid Valentine’s Day cards using a minimum of supplies. Hybrid card making combines traditional products with digital ones. The extent to which one does so is entirely at the crafter’s discretion.
My intent was to create the cards from digital kits using Photoshop on my computer and print the cards on my computer printer. I wanted to do a minimum amount of cutting and pasting once the cards were printed.
Why did I choose to restrict supplies? If I’m a digital scrapper who wants to dip my toes into hybrid for a product where digital output wouldn’t suffice, as would be the case with a card, then I wouldn’t want to acquire and store a multitude of tools in order to achieve my desired goal.
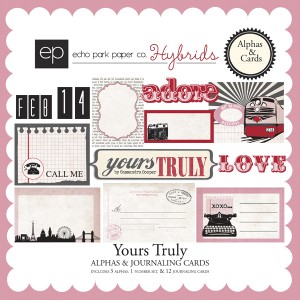
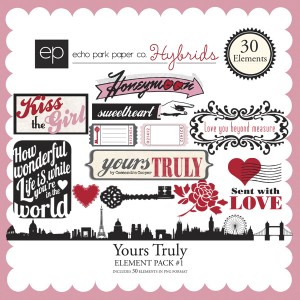
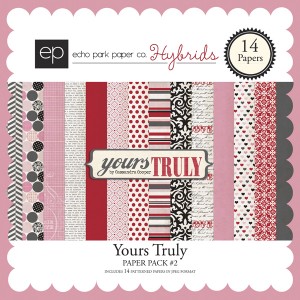
I chose the Alphas and Journaling Cards pack, Paper Pack #2 and Element Pack #1 from Echo Park Paper Co.’s Yours Truly collection.
I’ve worked with Echo Park’s digital products before, and because the company also manufactures paper products, their digital products have a “paper” feel. In fact, their digital collections closely track their paper ones.
To begin with, I simply played in Photoshop with the papers and journaling cards from the two digital kits, to become accustomed to the various elements. As soon as I began to consider card size, I realized that my computer printer, like most personal printers, prints with a small border around the edge. Therefore, I’d be unable to print two 4 ¼” x 5 ½” cards on letter-size cardstock.
There are several options: 1. Print a slightly smaller card front and adhere it to a cardstock base, in which case you could print four card fronts on a letter-size paper; 2. Create a card that’s slightly smaller in size, in which case you could print two card fronts and backs on a letter-size paper; 3. Create a 4 ¼” x 5 ½” by running the card in the opposite direction of its orientation. I chose to do the latter because I was interested in exploring the benefits of hybrid card making.
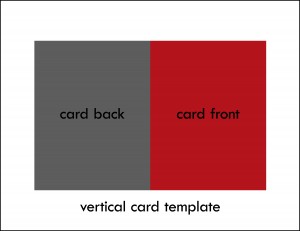
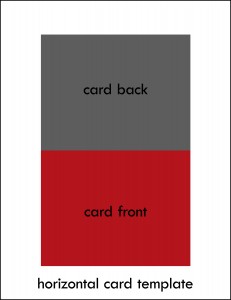
Once I was ready to take some of my ideas to the next step, I created a template in Photoshop for a portrait card (longer vertically) and one for a landscape card (longer horizontally).
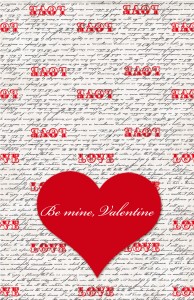
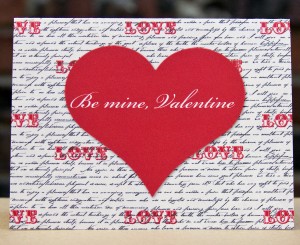
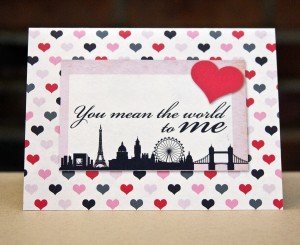
For my first design, I enlarged a heart element with patterned paper, and added a custom sentiment. I applied a drop shadow to the heart to give it the appearance of being adhered to the paper. Since I was working digitally, I could scale the paper as I wanted, and was able to run the pattern the opposite direction for the backside, something not possible without a seam using traditional supplies.
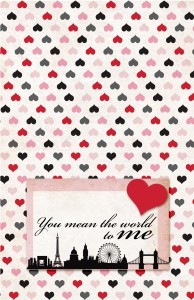
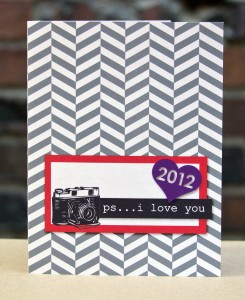
For the second card, I chose a different patterned paper, one of the journaling cards, and the heart element I used in the first card. Again, I created a custom sentiment, scaled the patterned paper, and applied a drop shadow to both the heart and the journaling card. I also slightly modified the saturation of the journaling card.
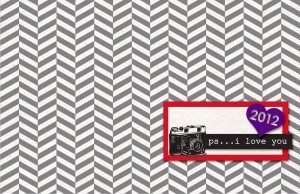
For the third card, I used a journaling card, a sentiment element, a heart element, and patterned paper. I scaled the paper so that the vertical stripes of the paper lined up with the card edges. Additionally, I changed the saturation of the journaling card and the color of the heart. Finally, I added a custom date to the heart and “knocked out” the text.
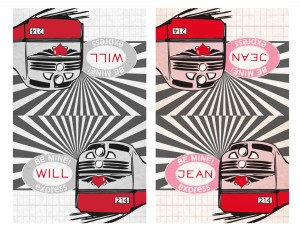
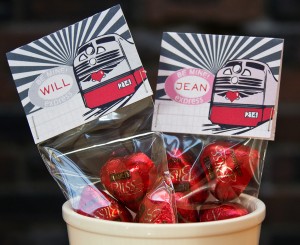
Especially when my sons were younger, I assembled a fair number of treat bags for them to share with classmates. Using one of the elements in the journaling card set, I designed a topper for a 2 ½” wide treat bag. By changing the saturation of the card, which contained shades of pink, and then recoloring parts of it, I designed personalized treat bag toppers suitable for boys and girls.
Unless you’re comfortable cutting out your cards and other projects with scissors, (the perfectionist in me requires more precision), you’ll minimally need a paper cutter, or a mat knife and cutting mat. A bone folder is also a nice addition for scoring and making crisp folds in your cardstock. You’ll also want to use a cardstock that runs easily through your computer printer.
The number of options available with the three kits I chose weren’t quite limitless, but were certainly abundant; the designs I’ve shown barely scratch the surface. Alternatively, I could have chosen to print elements and journaling cards out separately from the card base, cutting them out and adhering them to the paper, which would more closely mimic traditional card making.
Pros and Cons of Hybrid Cards
Hybrid card making has many advantages including:
- Digital products can be resized, recolored and flipped as needed.
- Digital products can be used more than once, are conveniently stored on one’s computer and accessible any time you need them.
- Custom sentiments can be easily created in a range of typefaces.
- Flat cards, (those without dimension), are easier to send in the mail.
There are a few disadvantages to making cards with digital elements, but for the making of a few cards, the advantages far outweigh the disadvantages:
- True dimension and realistic layering is only possible with additional supplies such as dimensional adhesive and chipboard elements.
- The expense of printing patterned paper on your computer printer, to make a few cards, is not a significant savings over the purchase of scrapbook paper.
- Crafting on the computer does not provide the “hands-on” aspect that paper crafting does.
Jean Manis contributes to Simple Scrapper each month, sharing her own creative ideas for simple scrapbooking. She is also the Simple Scrapper Team Leader.
Giveaway
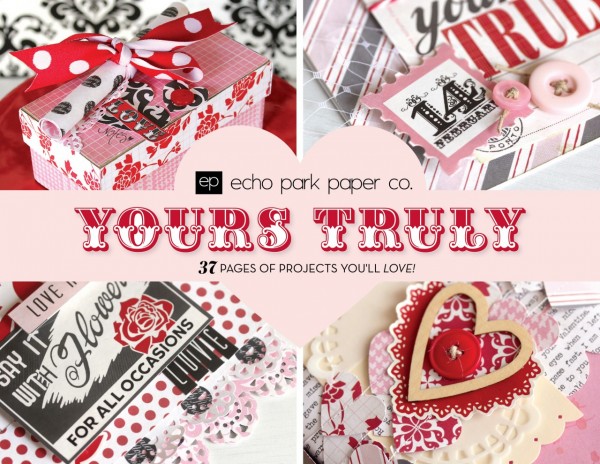
Echo Park Paper Company is giving away a copy of its most recent title–Echo Park’s Yours Truly Idea Book (digital format)–to a Simple Scrapper reader. Yours Truly features handmade ideas from designers Tamara Tripodi, Amy Heller, Wendy Sue Anderson, Leslie Ashe, and Kandis Smith, including: Handcrafted Valentines, Valentine/Anniversary Cards, Layouts and Home Decor/Valentine Gift Projects.
To enter the giveaway, share with us in the comments one simple way to do something special for a loved one on Valentine’s Day by 11:59 pm on Friday, January 27.
The giveaway has closed. Congrats to ava-j for being randomly selected as the winner!
My 5-y.o nephew will here for the next 2 months (yay!) and so we will likely be making valentine cards to give away. Thanks for sharing your ideas…it’ll be fun doing crafty stuff with the little guy!
Give them a hug and a kiss! I am very new to scrapbooking. I took a 4 wk class last month and loved it. Now I am really trying to figure out the digital aspect of all this. Todays “lesson” really helped. Thank you
It’s simple, put on your lipstick and kiss his side of the mirror!
i have so many candles but it’s only on valentine’s day that i think about using them. the special lighting sets the tone straight away, and we don’t need more
One simple thing I like to do on Valentine’s day for my SO is to romance him by making his favourite truffles (they only take half an hour to make) and under each one in a box, write a reason why I love him. :]
Just a chocolate kiss on his pillow.
Love chocolate as do all the men in my family (I have triplets + 1- all boys) and my DH. I like to make a heart shaped chocloate cake with chocolate frosting, and just a little sprinkle of oreos on top for V-day! Yum!!
I love hybrid cards, so cool because you can customize them and print out as many as you need!
For the giveaway answer: I always serve something heart shaped for breakfast. In the past I’ve done bread cut with a heart shaped cookie cutter and then toasted with butter and pink sprinkles. Heart shaped marshmallows in hot chocolate, and used Fruit Loops to make a heart shape on top of a bowl of cherrios.
big hugs is always my best way to share love, 2nd is kiss.. and and love note.. 😀
We always get heart shaped pizza for dinner – a tradition now in our family and my boys love it! A little something to do – surprise your loved one by sticking a little personalized note somewhere that they would find it by surprise during the day. How could that not make someone’s day?
I have to disagree with you on one of the disadvantages of hybrid card making: True dimension and realistic layering is only possible with additional supplies such as dimensional adhesive and chipboard elements.
this is totally not true – one has to have a good understanding of the use of shadowing to achieve a realistic look. the two cards of mine linked below show how important shadowing is with hybrid cardmaking as I’ve received many comments from people who did not realize both cards are digital with the depth occuring from shadowing, not pop dots, 3D foam squares, etc.
http://scrapmatters.com/gallery3/showphoto.php/photo/101744/ppuser/426
http://scrapmatters.com/gallery3/showphoto.php/photo/131974/ppuser/426
Hi LuAnn,
Like you, I’ve received comments in online galleries on my digital creations from people believing that they were non-digital. The cards shown in the article have shadow-work to give the illusion of being 3-D. That being said, in the case of a card, which will ultimately be held in someone’s hands, I believe that the illusion would fall apart. However, I don’t believe that’s reason enough not to create and send flat, hybrid cards. Perhaps a more fair statement might be – “True dimension and layering is only possible with additional supplies such as dimensional adhesive and chipboard elements.”