This is a guest post from team member Amy Kingsford.

I suppose I was first turned onto the idea of scrapbooking after I became obsessed with reading historic travel journals as a young adult. Not only did I long to travel but more so I longed to write about my travels and document them with photos and memorabilia to share with future generations. I studied to become a foreign service worker in college until I met my husband and had children and it seemed that my life of travel and adventure had come to a halt.
Little did I know that the adventure was just beginning!
Though I have been on very few vacations since the birth of my two boys—my days are filled with everyday encounters that are more than worthy of being documented—trips to the zoo and the aquarium, to our favorite shopping mall (with the KILLER play place!!!) and so much more. And I have found joy in recording the little adventures of our lives over the past few years.
Below I’ve shared some tips and ideas, so that you too can begin documenting those everyday adventures in your own lives.
Tips for Gathering Photos, Memorabilia and Details About Your Everyday Adventures
- Rely on your cell phone camera to snap unexpected photos of your everyday adventures.
- Save brochures, tickets, menus and other memorabilia from the places you visit.
- Keep a small notepad or journal with you to record important details about your daily adventures.
- Use apps like Instagram, Geo Tag or Facebook to easily tag the location of your adventures so you can go back and record them.
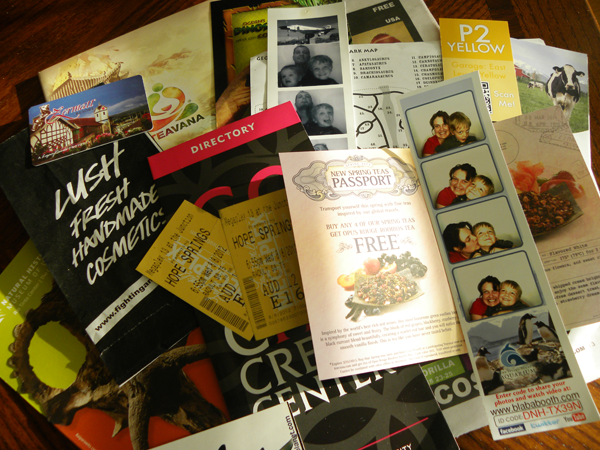
Ideas for Putting It All Together
Below I’ll walk you through a few things to consider when building your own Family Adventure Album and show you how I tackled each of these things in my own mini album, Our Favorite Places in 2012, from this past year.
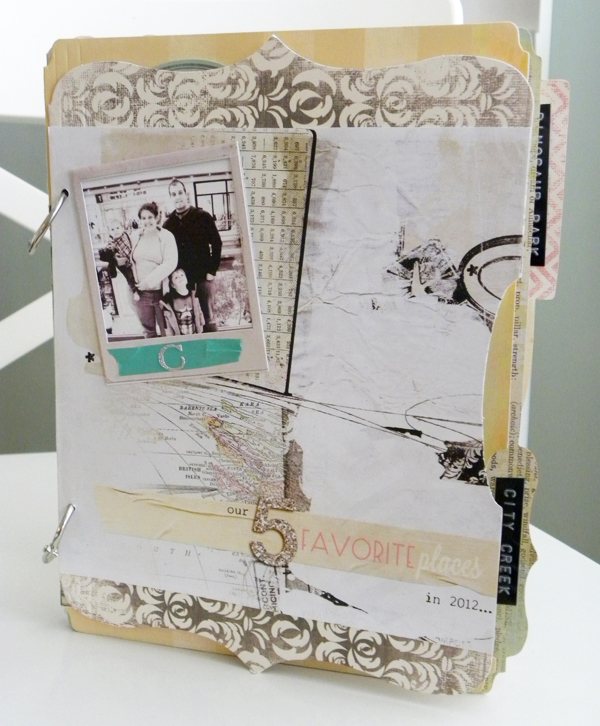
Look through your photos and memorabilia to determine your approach.
Based on the number of different places you have photos and memorabilia from you may decide to put everything together in a single album that captures all of the places you go together as a family in a month or even a year—or you might decide to narrow it down to just your favorites.
Decide on a format.
Depending on the kinds of photos and memorabilia you have collected you’ll want to determine whether a digital, hybrid or paper approach will suit you best. With my own album I decided that a hybrid approach would work best since I had several digital elements as well as photos on Instagram that I wanted to use, but I also wanted to included my memorabilia in its current state rather than scan it.
Settle on a base for your album.
Next you’ll want to choose a base for your mini. You could decide to create a base from scratch or go with a pre-made album or photo book, or there are plenty of other options in between.
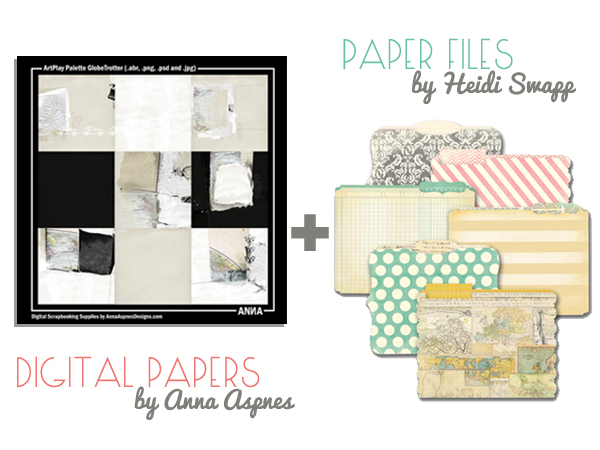
For my own base I actually combined printed digital pages created with the Globe Trotter Collection by Anna Aspnes, and the Mini Memory Files by Heidi Swapp. I liked the customized look that this option afforded me and together I think they made for the perfect base to add my photos and memorabilia to.[/caption]
Gather your supplies.
It’s wise to have all of your supplies collected and accessible for the duration of your project. Consider things like theme, colors, bulk and price when pulling together the supplies for your mini.
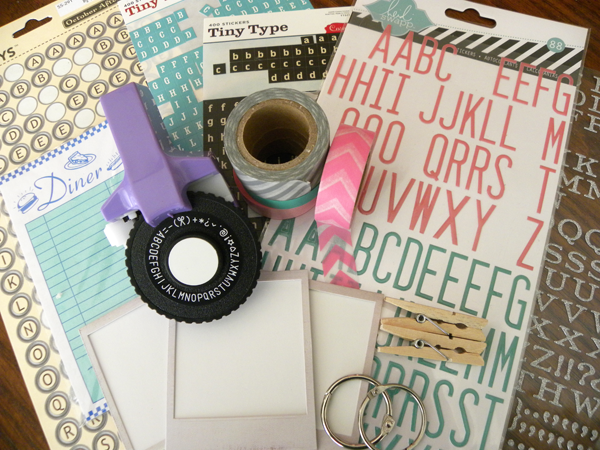
I ended up using a few random supplies from my stash including washi tape, clothespins, leftover alphas and my trusty label maker.
Add functional details to help you organize and contain all of your photos and memorabilia.
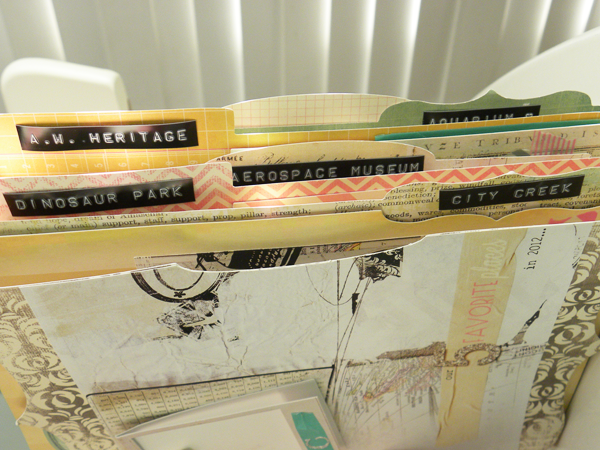
Incorporate features such as pockets or other compartments to hold things, tabs for quick reference or bands to keep your albums contents secure.
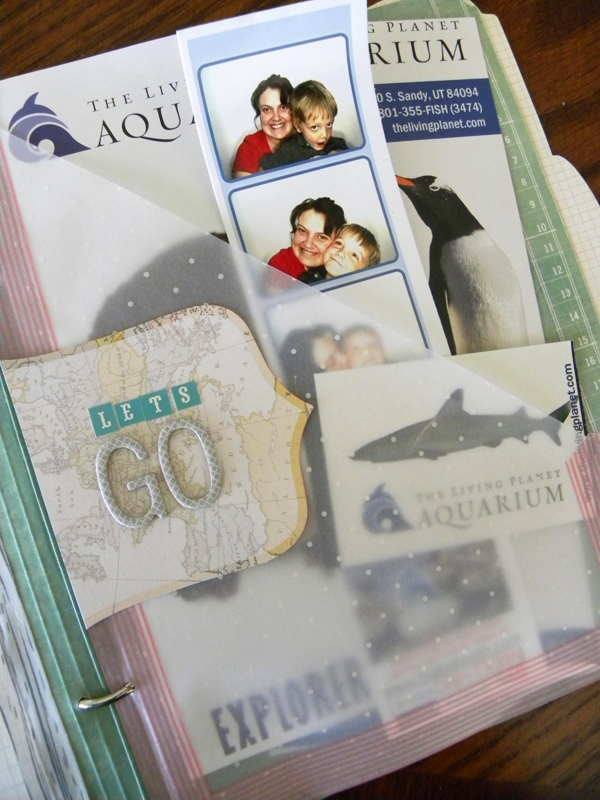
My 2012 album utilizes several of these features—adding to both its function and its charm, in my opinion. For example I incorporated vellum pockets to hold my memorabilia and extra pictures.
Fill your book with photos, memorabilia and stories.
Perform any printing or scanning of photos and memorabilia so that you can have everything you want to include in the book rounded-up in one place. Then take time to record the stories that go with your photos in a small notebook or directly onto journaling cards that you can put into your album.
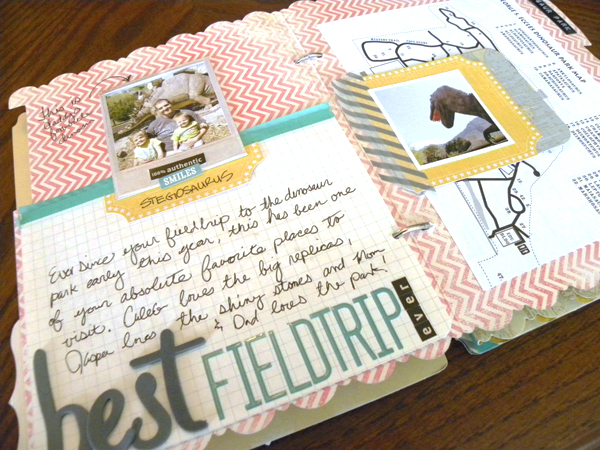
In my own album I have included printed photos from both Instagram and my camera and including handwritten details about each of the places on journaling cards and notepad paper.
Embellish and you’re done!
Once you’ve filled your book with all of the “important” elements, go back through and add a few embellishments for some extra oomph and dimension.
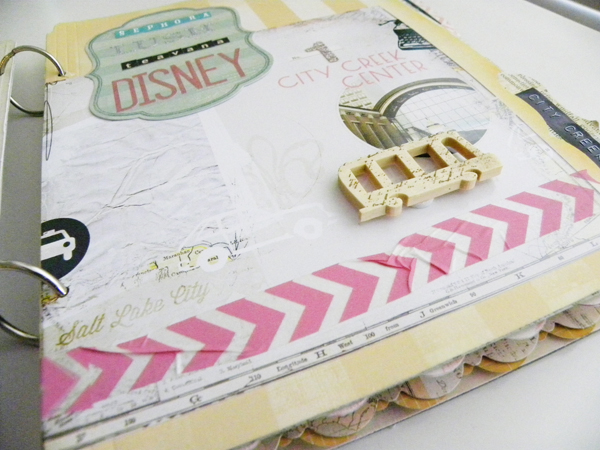
I embellished with mostly flat supplies like washi tape, labels and leftover alphas to cut down on bulk. However I did add these travel themed wood veneers to add a bit more texture and dimension.
This is something I enjoy doing each year and as my boys get older I can only hope that they will join me in helping to record our family travels in the years to come. Best of luck in recording your own family’s adventures!

0 Comments
Trackbacks/Pingbacks