Welcome to our new series, Take Two. This blog series will teach you how to get the most out of your scrapbook supplies.

In this installment of Take Two, I’ll take a second look at one of the sketch templates from the Premium Membership and use it as a starting point from which I’ll create a different layout.
I wanted to scrap a single-page layout in which the journaling would be a focus of the page. I looked through the Premium Membership library and found a double-page template with a long journaling strip from the February 2012 collection that met my needs.
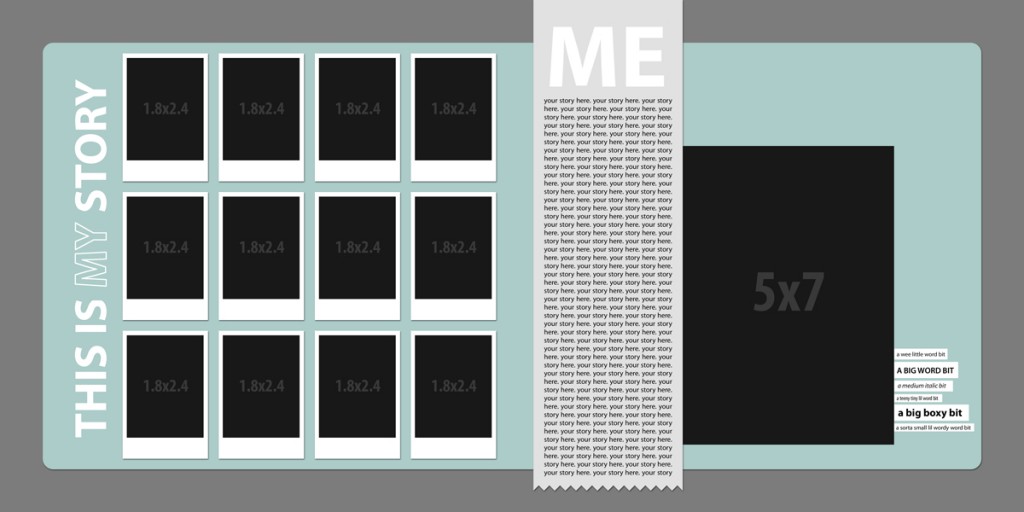
Simple Scrapper Template from the February 2012 Collection
I used this template earlier this year to create an “at a glance” layout capturing key events from my family’s 2011 year.
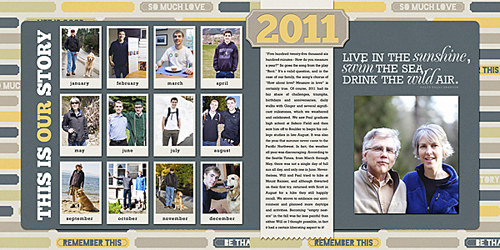
My original layout with the template Supplies
Visualize
To begin the process of changing the double-page template, I used the crop tool in Photoshop, set to a 12” x 12” square, to help me visualize the area of the template that I wanted to use in my new layout. I didn’t use the tool to actually crop anything, however.

Step One
The first step was delete the layers in the template that I would not be using in my new layout.
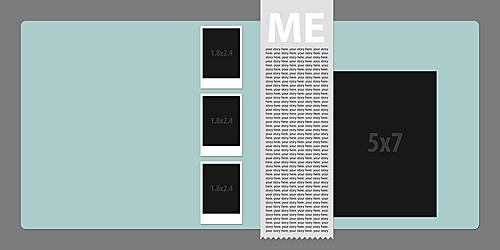
Step Two
Next, I created a new 12” x 12” canvas and drug the layers over.
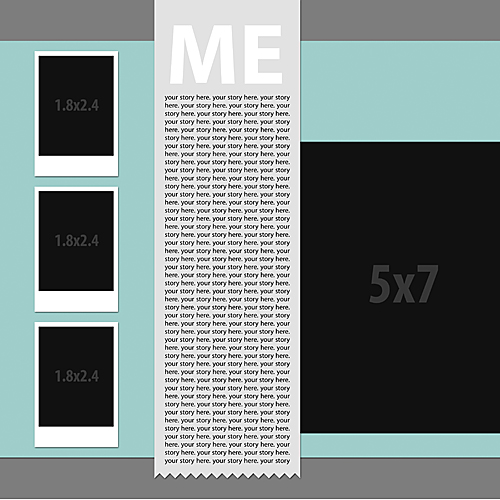
Step Three
I cropped the background paper, bottom layer, and the paper sitting on top of it to 12” x 12”. I also removed the mats from the three photos and rotated them 90 degrees. I resized the 5” x 7” photo and centered it horizontally.
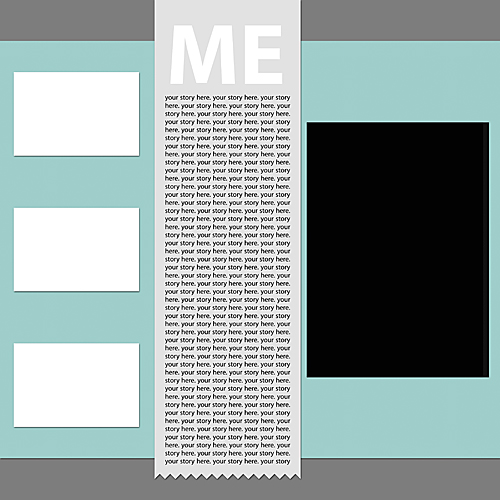
Step Four
Knowing that I had a large photo I wanted to use in which my sons were facing to the right, I swapped the focal photo and three smaller photos. Additionally, I resized and repositioned the horizontal photos, as well as made the journaling strip narrower.
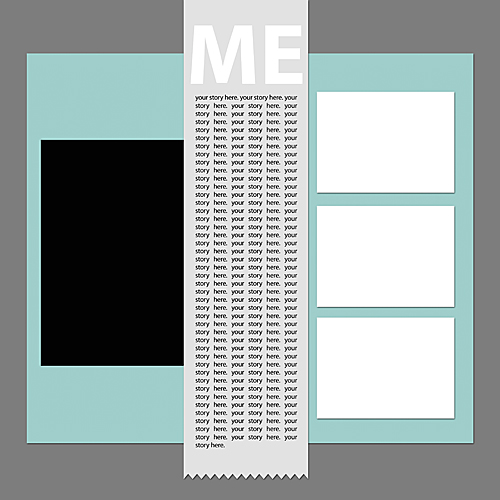
Step Five
Before choosing any supplies, I placed my photos and journaling into the template. I also added a white border to my photos.
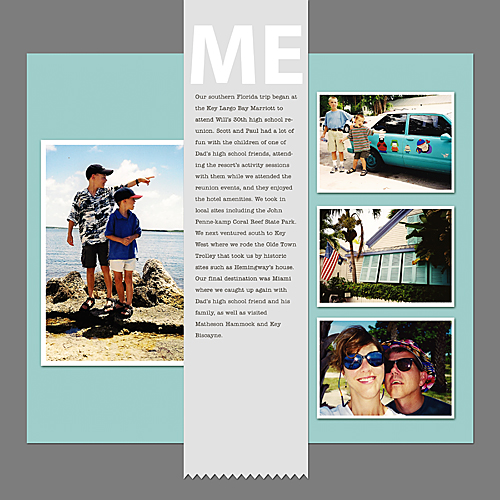
Final Steps
At this point, I looked through my digital kits and tried several out before choosing the Echo Park This & That Charming Collection. I then played with various combinations of papers and elements until I liked the result. Along the way, I added a mat for the journaling strip by duplicating the strip layer and shrinking it, and then masked different papers to the two. Because the paper on which the journaling rested was lined, I adjusted the leading of my journaling layer accordingly.
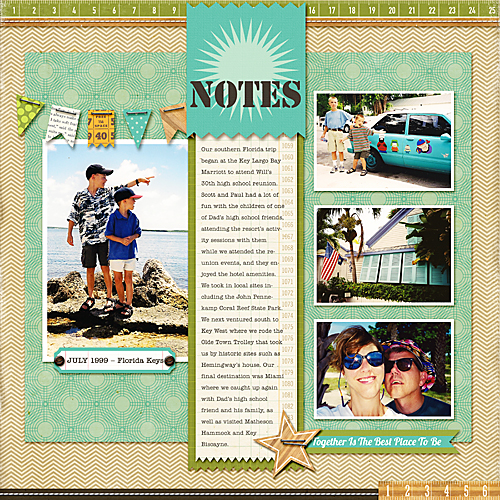
Adventure in the Keys Supplies
Looking for more ways to reuse your templates? Check out the Simple Scrapper article Twisted Templates: Thirteen Easy Ways to Tweak Templates for inspiration from the Simple Scrapper Design Team.


Great idea! I am going to use this to update my favorite, “go to” templates.
Thank you Very much for sharing this helpful info!
Lynden
http://aneleganttouch-lynden.blogspot.com
thank you – this is helpful.