A few weeks ago, a Simple Scrapper reader asked how to blend photos into the background with PSE. It is surprisingly easy!
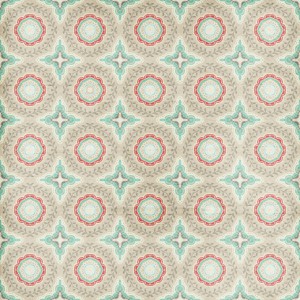
To start, let’s select a photo and a paper. This paper is from Amanda Heimann’s Lucky kit.

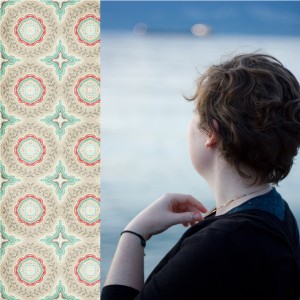
Then, add both selections to a new page, with the photo layer on top.
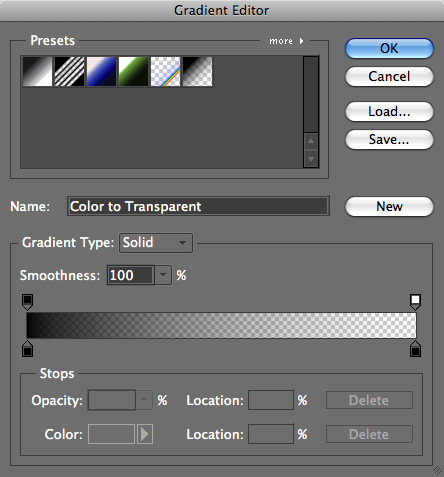
Create a new layer and use the gradient tool to create a color-to-transparent gradient.
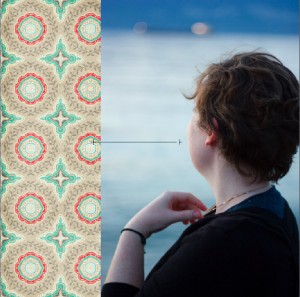
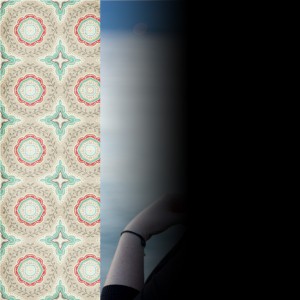
Move the new gradient layer to beneath the photo. Use Ctrl/Cmd+G to clip the photo to this mask.
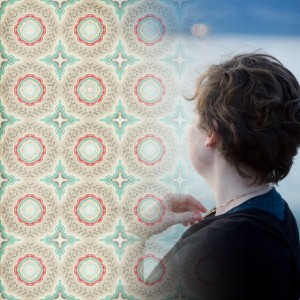
You can use the full spectrum of gradients to serve as your mask. Your creativity is the only limit. Experiment to see what works for your scrapping needs!


Thank you, what a great tutorial, I’m so excited to learn something new. Thanks for sharing!
I’ve always wondered how to do this but was too lazy to find out! Thanks so much for sharing!
I’ve always wondered how to do this but was to lazy to find out! Thanks so much for sharing!
I am having such a problem with this and I have no clue what I am doing wrong. I follow the instructions but every time I clip the photo to the gradient layer, my photo disappears and all I get it is a lighter gradient. I am using PSE7. Can someone help me please?
I have two guesses:
1. You’re putting the gradient on top instead of beneath your photo.
2. You’re using a black to white gradient instead of a color to transparent gradient.
Let me know if you’re still having problems.